An Introduction:
Rockstor is yet another product that allows for an easy nfs server configuration to be used in a vSphere lab.
What follows are the steps to configure a simple nfs server:
Step 1: Download Rockstor from rockstor.com. Burn the image into a dvd. Boot the nfs server from cd/dvd and proceed with the installation. Specify the timezone and the admin password. Once the installation concludes, the rockstor nfs server will use DHCP to acquire an ip address.
Step 2: Connect to your nfs server using a browser and use secure http (https). Log in and configure the pools and the NFS shares. Notice the nfs server picked up an ip address in this case (10.1.1.120). Log in and create an admin account (plus password).
Step 3: Change the ip address to a static ip by clicking on the green link displaying the original ip. Log into the new ip once the reconfiguration takes place.
Step 4: Configure the future nfs pools. In this case, Rockstor was installed on a vm with 3 disks, the boot disk and 2 extra 10gb drives for the test.
Step 5: Set up the two shares, one per pool.
Step 6: Create the two shares and enable the NFS service (notice the top left corner). Under Admin Host, specify the ip addresses of your esxi hosts so they have r/w permissions.
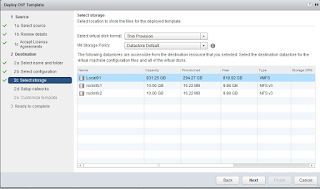
Step 3: Test the nfs share using the vSphere Client, the Web Client or the c.l.i.


