Requirements:
A three node HA and DRS cluster
A vCenter Server
NSX already configured
The proper license
Step 1: Using the vSphere Client, click on Menu and select Workload Menu. Click on Enable.
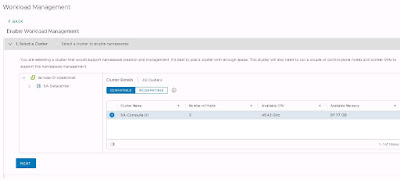
Step 2: Select your three node cluster and click on Next.
Step 3: Select the size of the Control Plane and click on Next.
Step 4: Specify your network settings. These appliances will have two IPs each.
Step 5: Configure your CIDRs and API Server endpoint.
Step 6: Provide the Storage related settings for the nodes and disks.
Step 7: Review your settings/values and click on Finish.
Step 10 Next, download the kubectl utility into a windows or linux machine by using for example tools like wget. There is a .zip file that contains the software to view and control Namespaces available using the control plane node ip address (the load balancer created automatically via NSX). Just point your browser to that IP using https.


No comments:
Post a Comment
Note: Only a member of this blog may post a comment.